")

")
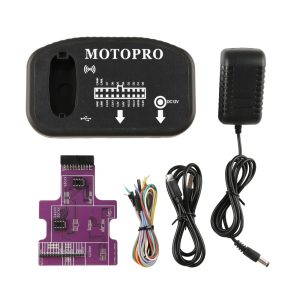
1. Power On Self-Test
After turning on the device, both the Red and Blue LED lights stay on for 1 second and then turn off. This indicates that the device has completed the self-test and is ready for use.
2. Auto Power Off
If no operation is performed on the device for 2 minutes, it will automatically shut down. After automatic shutdown, all data that has been read but not yet written will be lost, and the original key must be read again.
3. Reading the Original Key (READ)
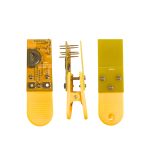
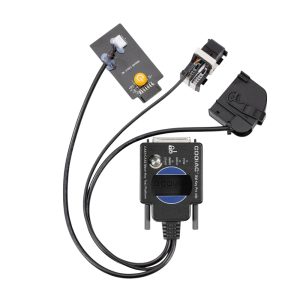
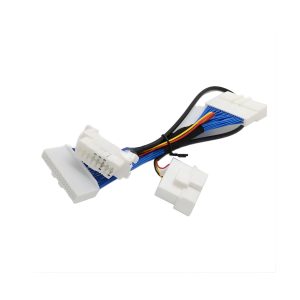
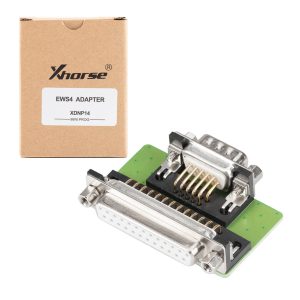
Connect the original key properly.
Press the READ button (left side).
-
Red LED flashing: Reading is in progress.
-
Red LED solid on: Reading completed successfully.
Read Error Codes (Red LED flashes once per second)
-
1 Flash: Key not connected properly.
-
2 Flashes: Key is locked; reading not supported.
-
3 Flashes: Read failed; please try again.
-
Other Numbers: Device error; remove and reinsert the battery.
4. Writing to a New Key (WRITE)
This operation can only be performed after a successful read (Red LED solid on).
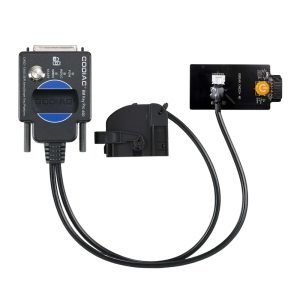
Connect the new key.
Press the WRITE button (right side).
-
Blue LED flashing: Writing is in progress.
-
Blue LED solid on: Writing completed successfully.
Write Error Codes (Blue LED flashes once per second)
-
1 Flash: Key not connected properly.
-
2 Flashes: Erase failed; chip erase lock is active.
-
3 Flashes: Write failed; please try again.
-
Other Numbers: Device error; remove and reinsert the battery.
Reviews
There are no reviews yet.